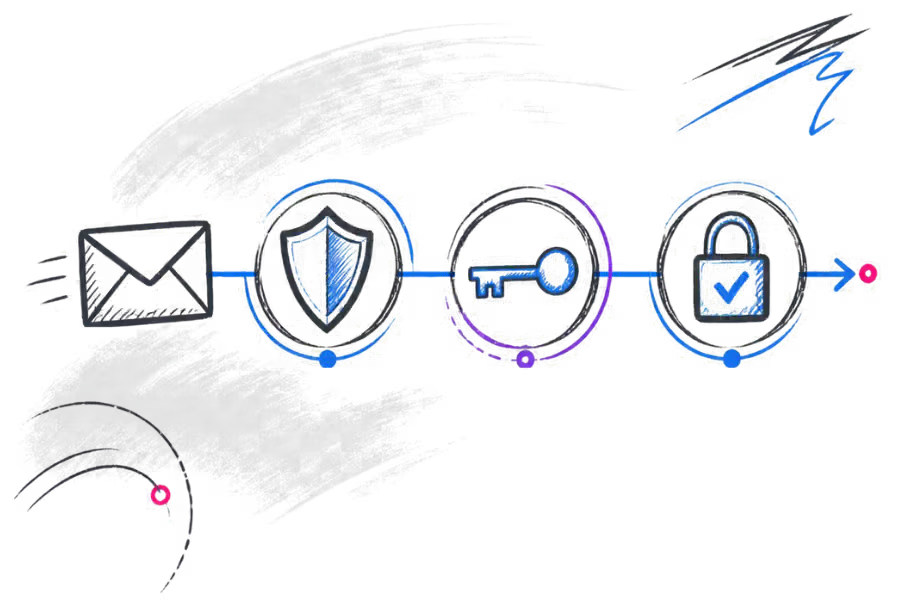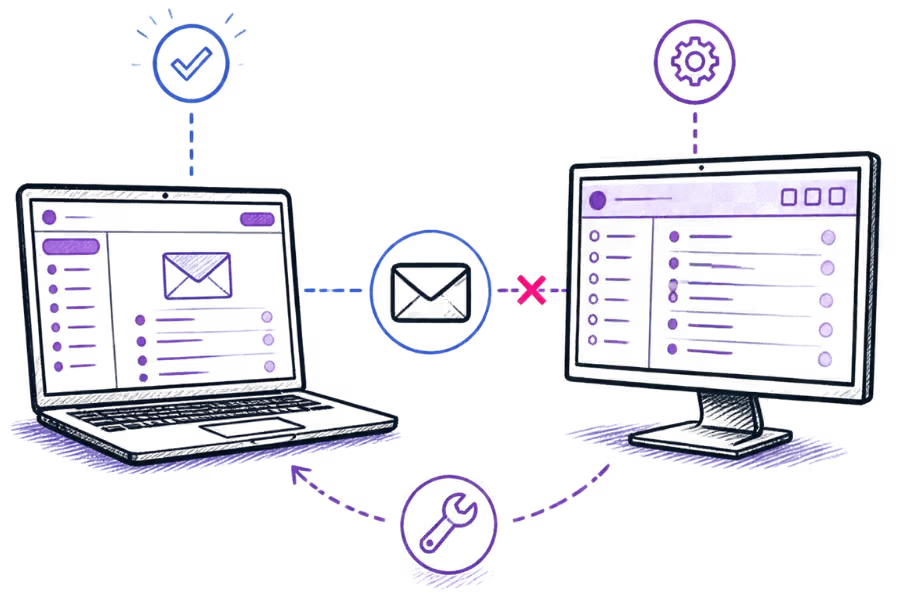
A professional email address can look simple from the outside, but several separate pieces sit behind it. The domain must point to the correct mail service, each mailbox needs to exist, authentication records need to be configured, and the people using the mailboxes need the correct settings for their devices and applications.
This checklist gives you a practical order to follow. It is useful whether you are setting up a new business email service or checking an existing setup that is not behaving as expected.
Before you start
Gather the information you will need before changing anything. You should know which domain will be used for email, which email service will host the mailboxes, who manages the domain's DNS records and which people or business functions need separate addresses.
It also helps to decide whether you will mainly use browser webmail, desktop applications, mobile devices or a combination. Different applications may present the same mailbox in different ways, but they still need the correct server, port, authentication and encryption settings.
Connect your domain to email
Your domain name and your email hosting are related, but they are not the same service. The domain identifies the address people use, while the mail service handles the mailboxes and the sending and receiving of messages.
The most important DNS record for directing incoming email is the MX record. It tells other mail systems where messages for your domain should be delivered. Your email provider should give you the exact MX values to use.
Depending on the service, you may also need other DNS records for authentication, service discovery or verification. Use the values supplied by the provider rather than guessing them.
Create your mailboxes
Create the individual mailboxes your business actually needs. These might include personal addresses for staff as well as functional addresses such as sales, accounts, bookings or support.
Each mailbox should have its own login and password. Avoid sharing a single mailbox password between several people when separate accounts would be more appropriate. Individual mailboxes make it easier to control access when somebody joins or leaves the business.
Before moving further, check the mailbox quota and any service limits. Make sure the address is spelled correctly and that the mailbox exists on the intended domain.
Set up email authentication
Email authentication helps receiving systems assess whether messages claiming to come from your domain are authorised. The main records you will encounter are SPF, DKIM and DMARC.
SPF identifies authorised sending systems. DKIM adds a cryptographic signature to outgoing messages. DMARC allows the domain owner to define how receiving systems should handle messages that fail authentication checks and can provide reporting.
These records should be configured according to the actual systems that send mail for your domain. If another service sends newsletters, invoices or automated messages using your domain, it may need to be included in the overall authentication design.
Authentication improves the information available to receiving mail systems, but it does not guarantee that every message will reach the inbox. Reputation, message content, recipient-side filtering and other factors can also affect delivery.
For a fuller explanation, seeSPF, DKIM and DMARC Explained.
Choose how you will use email
Decide which access method suits each user. Webmail is useful when you need to sign in from a browser without configuring an email application. IMAP is commonly used when messages should remain synchronised with the mailbox across multiple devices.
SMTP is used for sending mail from an email application or device. Your provider should supply the correct incoming and outgoing server names, ports, encryption requirements and authentication method.
Test sending and receiving
Test each important mailbox in both directions. Send a message to the new address from an outside account, then reply from the business mailbox to the outside account.
Check the actual sender and recipient addresses, not just whether a message appeared on screen. Confirm that replies go to the expected address and inspect the message headers if you need to investigate authentication or routing.
- Send an external message to the business mailbox.
- Reply from the business mailbox to an external address.
- Test a reply to the original message.
- Check whether messages arrive where expected.
- Repeat the test for important functional addresses.
Check each device and mail app
A mailbox can work correctly in webmail while an email application still has a configuration problem. This is why device testing should happen after the mailbox itself has been confirmed.
Check the username, password, incoming server, outgoing server, ports, encryption and authentication settings on each device or application. Also confirm that the correct mailbox is being used when more than one account is configured.
If webmail works but Outlook or another application does not, first compare the application's settings with the provider's documented settings. The problem may be local to the application rather than the mailbox or server.
SeeEmail Works in Webmail but Not Outlookfor a more focused troubleshooting guide.
Keep your email details organised
Keep a secure record of the information needed to manage the service. This should include mailbox addresses, who uses them, recovery or administration details, the domain registrar or DNS provider and the email service involved.
Do not store mailbox passwords in an ordinary document or share them through an unsecured chat. Use an appropriate password manager or another secure method for credentials.
Documentation is particularly useful when a business has several mailboxes or when someone else may need to help with the setup later. Record what each address is used for and which systems depend on it.
Business email setup checklist
Before considering the setup complete, work through the following list:
- Confirm the correct domain is being used.
- Confirm the email hosting service and DNS access.
- Set the required MX records.
- Set the required SPF record.
- Enable DKIM where supported and required.
- Configure DMARC appropriately for the domain.
- Create the required individual mailboxes.
- Check mailbox names, passwords and quotas.
- Test incoming mail from an external account.
- Test outgoing mail to an external account.
- Check replies and important functional addresses.
- Connect each required phone, tablet or computer.
- Confirm the email application settings.
- Keep the service and account information securely documented.
A good email setup is not just an address that can send one test message. The domain, DNS, mail service, authentication, mailbox credentials and devices should all be working together before the address becomes part of your everyday business communication. If you still need business email for your domain, you canview PalmHost Business Emailand see what is included.